
The resource uploader is a tool which enables you to upload your teaching materials to Tes to share with the wider teaching community.
If you’re uploading for the first time and you're questioning 'how do I upload my resources to Tes?', you may find some parts of the upload process confusing. This guide will suggest some recommended ways to fill in the details.
Click here to go straight to the uploader.
Below we will cover the basics of the Tes resource uploader. If you would like some more advanced information on the steps which aren’t necessarily essential, visit our making the most of the uploader blog here.
The uploader is split into 5 sections:
Section 1: Title & description
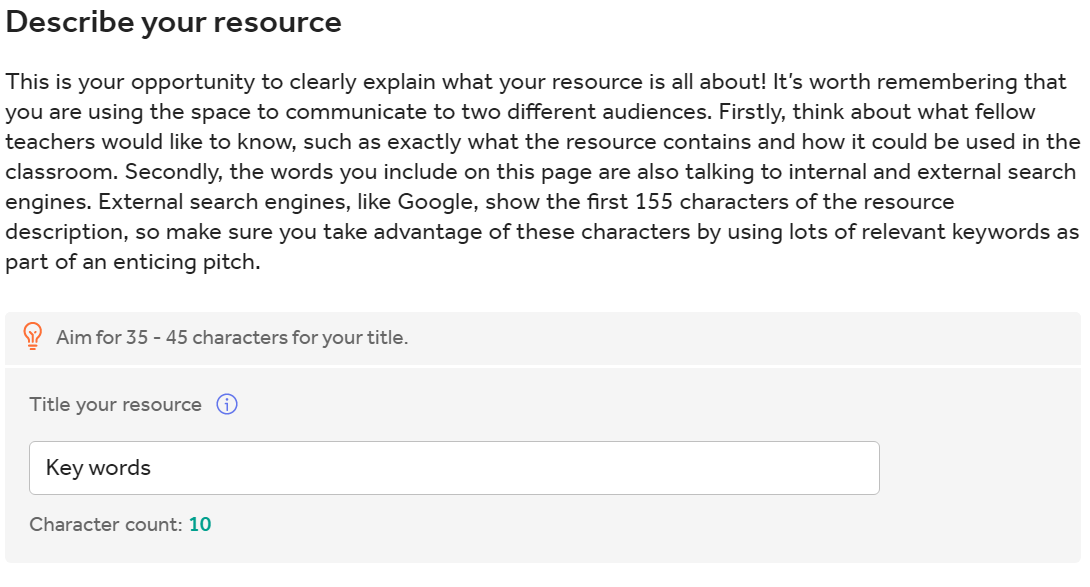
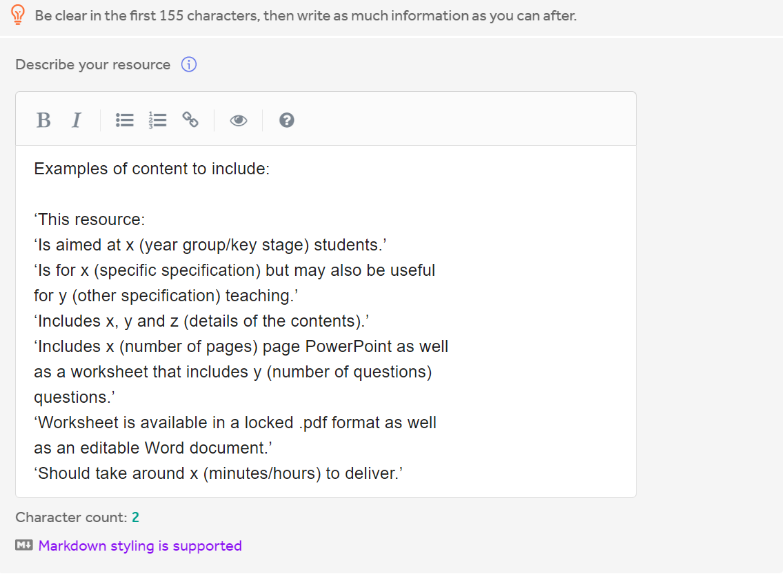
In the first section of the uploader, you’ll need to give your resource a title and description. Be sure to give your resource a clear and relevant title. In the description try to include:
-
What your resource is (resource type, subjects, etc.).
-
Who it’s aimed at.
-
What it includes (e.g. file types).
-
How to use it.
-
Useful definitions.
-
Any specific information you think a user needs to know before downloading or purchasing it.
Section 2: Uploading your files
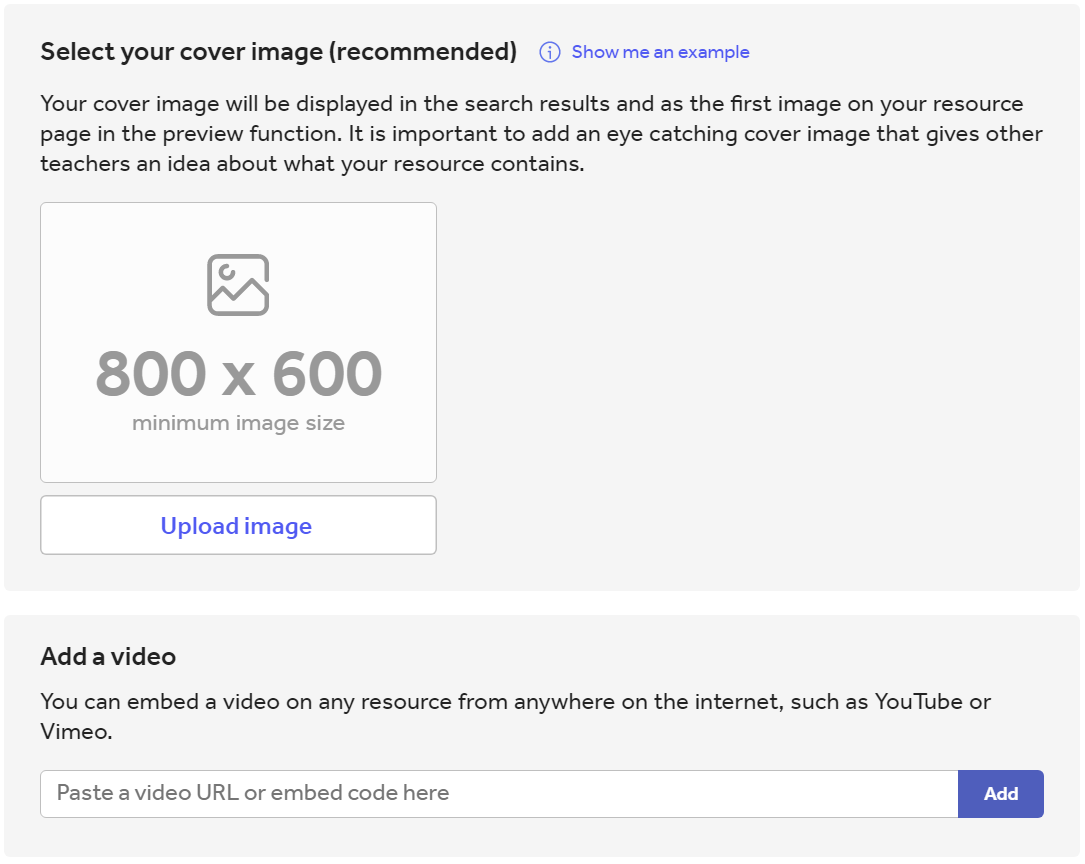
The next step of the process is where you’ll get the chance to upload all your hard work! To do this you’ll need to:
-
Either drag and drop your resource files into the box provided or use the ‘upload’ button to browse from your computer.
You can upload files of up to 200MB and a full list of accepted file formats as well as many more resource FAQs can be found here.
-
Then, select your resource type from the drop-down menu. Choose the category that best fits your resource, only select ‘other’ if your resource doesn’t fit any listed option.
Section 3: Categories
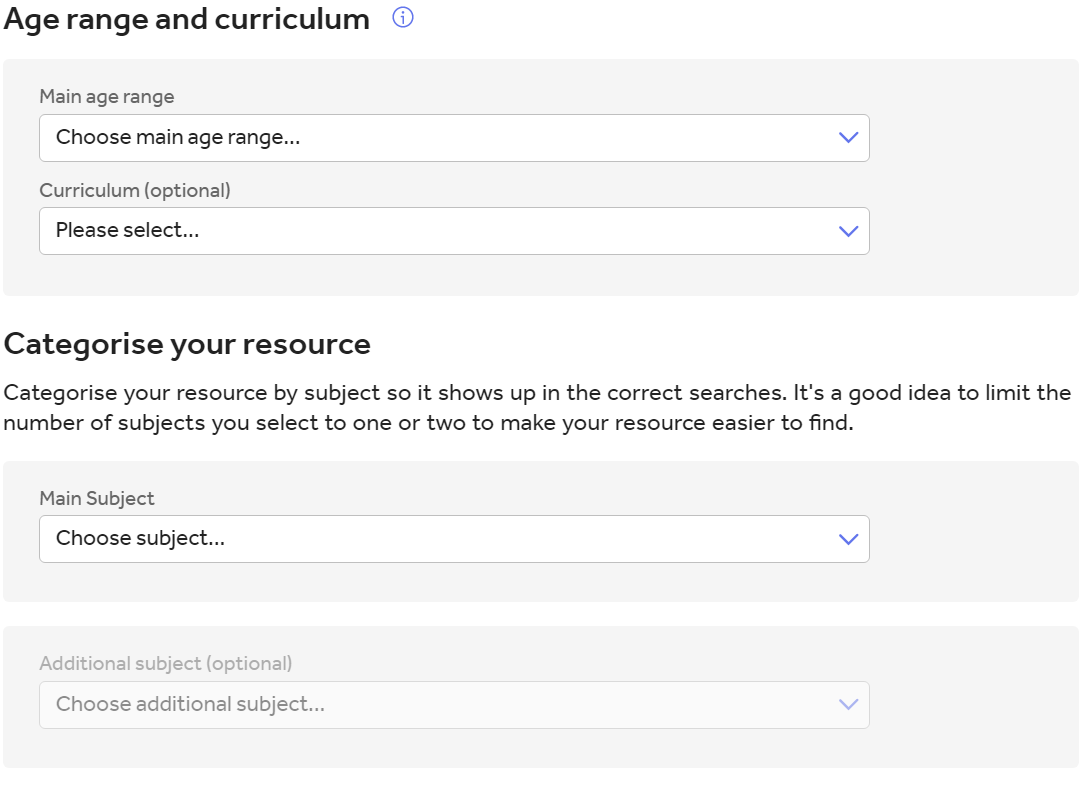
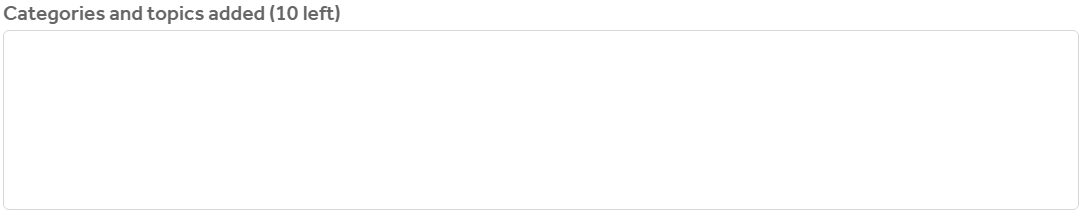
Page 3 of the uploader allows you to categorise your resources. You’re required to:
-
Choose a main age range for your resource: try to be accurate with this, so that your resource shows up in the correct searches.
-
Choose a main subject.
Section 4: Licence
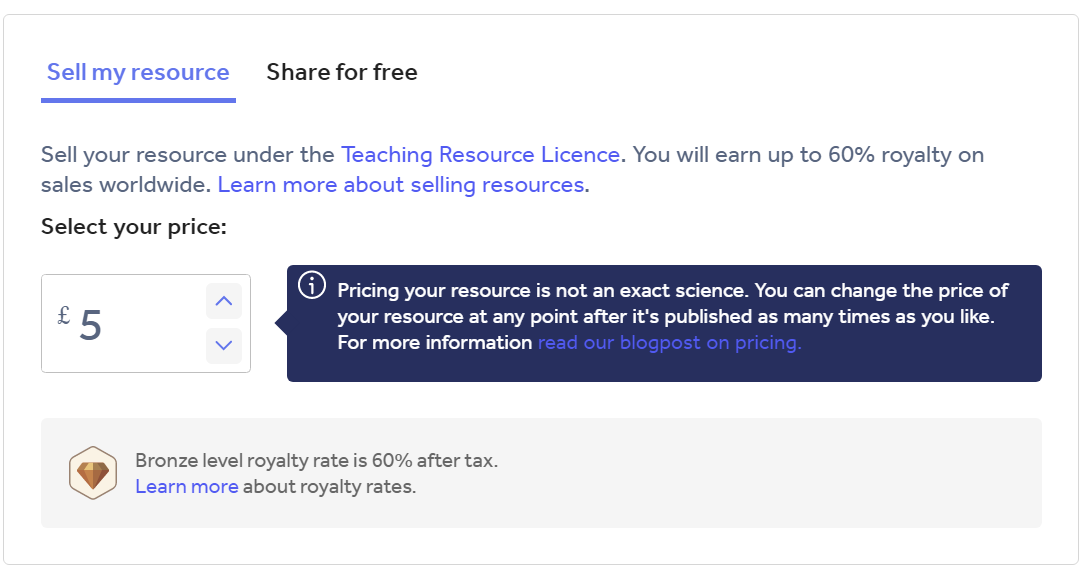
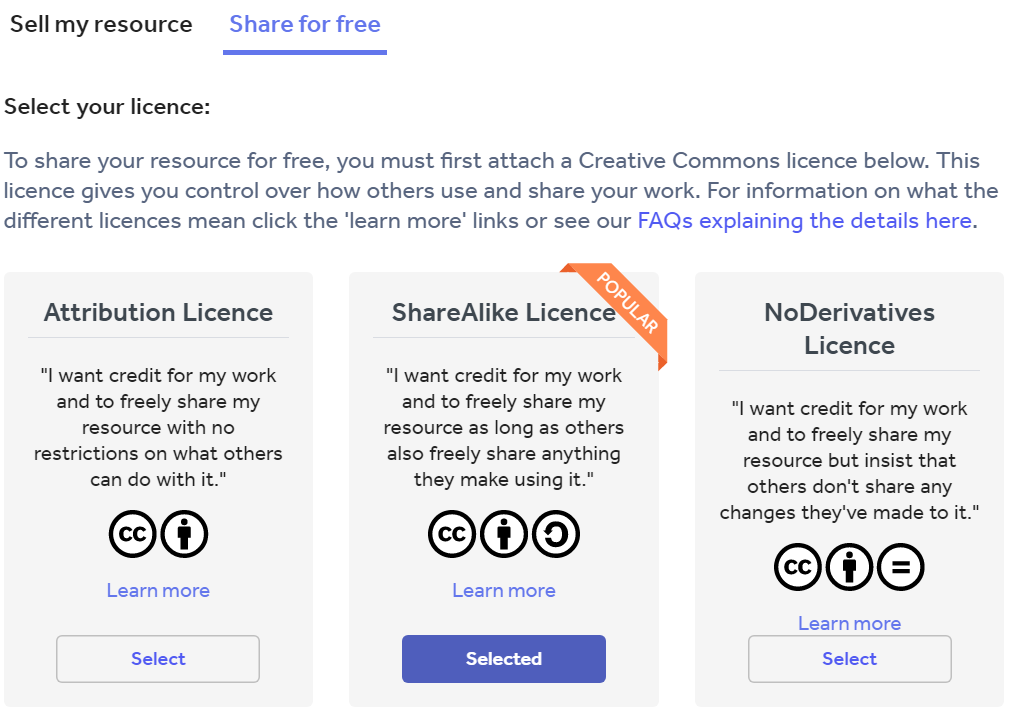
At this stage of the upload process, you’ll need to decide whether you are selling your resource or sharing it for free. Depending on which you choose, you will need to complete the following steps:
-
If you are selling your resource, choose the price you would like to sell it at.
-
If you are sharing it for free, choose from 1 of the 3 Creative Commons licences to share it under.
-
If you decide to share your resource for free, it must remain free. You cannot subsequently change your resource from free to paid. If you decide to sell your resource, you can amend the price of it once it has been published but not change it to become free.
Section 5: Publish
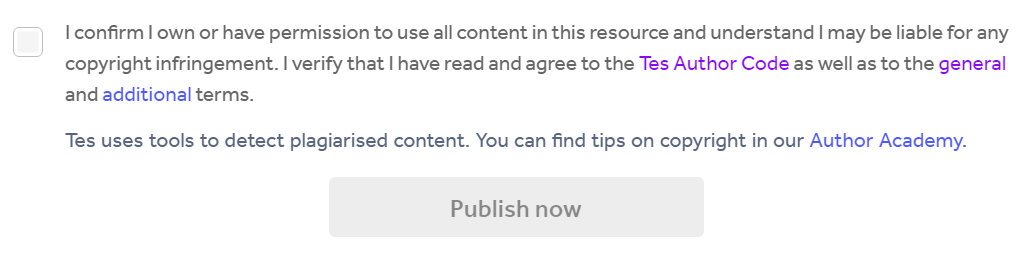
And finally, it’s time to publish your resource!
-
To publish your resource live you will have to accept the terms and conditions and confirm that you own or have permission to use all the content and you understand that you may be liable for any copyright infringement.
-
You will also need to verify that you agree to the Tes Author Code as well as the general and additional terms.
-
We suggest that new authors make themselves aware of copyright restrictions on what they are allowed to share in a resource. It is important to be aware that what you are allowed to use in the classroom is not the same as what you are allowed to publish online. To read up on copyright, you can view our copyright section of the Author Academy. Further along in this onboarding journey you will receive an introduction to copyright.
-
Tick the box and click ‘publish now’.
The uploader simply and efficiently takes you through each step with guidance along the way. You can go straight to the uploader here.
Now that you’re fully onboarded onto the basics of the resource uploader, don’t forget to check out the advanced information to see how you can make the most of the features it includes here.