- Home
- Teaching & Learning
- Early Years
- Handwriting: 5 stages to cover with your class
Handwriting: 5 stages to cover with your class

As grown-ups, we often take the ability to write for granted, but learning to write well can be daunting for the youngest learners.
Pupils must first master holding a pen, putting it to paper and then mark making. After this comes letter formation, capital letters, lowercase, precursive, and cursive before even beginning to consider what they are going to write, and it’s here that spelling, grammar and punctuation are introduced.
All of this must be supported by creativity and understanding to produce something purposeful. It’s a challenge, but one that teachers and support staff meet every day. In my experience, the following five steps can really support pupils on the journey.
Start with gross and fine motor skills
The first step to developing handwriting skills doesn’t actually involve pencil and paper. In order to be able to produce legible handwriting, students must first possess the gross and fine motor skills required to use a pen and write for a significant amount of time.
You probably already do this, but filling classroom environments with activities designed to encourage the development of the skills can really help: for example, giving pupils heavy lifting opportunities or encouraging them to “paint” the playground floor with adult-sized brooms.
Getting to grip with writing
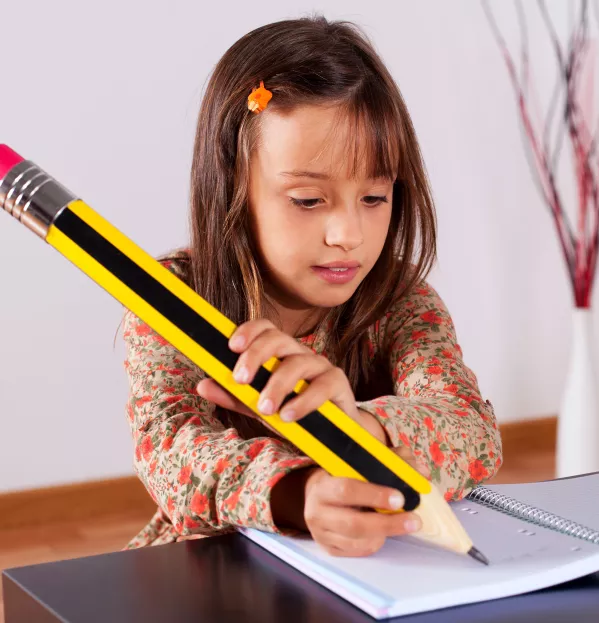
Pen grip isn’t necessarily the key to good handwriting: many people use unconventional pen grips and are competent writers. However, it is generally accepted that encouraging the use of a tripod grip is best because it minimises the risk of strain and offers the greatest control.
There are plenty of ways to encourage pen grip in young learners, including threading beads onto straws, as the child will need to pick them up with a tripod grip. An easy one for the classroom is to get the child to hold a rolled-up piece of tissue in between the little and ring finger as they are writing; this will encourage them to hold the pencil in a tripod grip.
Tiny or tall
Many children come into reception writing in capital letters; they often seem to find capitals easier to produce than lower case letters. It can be challenging for children to get the size of lowercase letters consistent while making sure they write on the line.
In addition, those lowercase and capital letters, which are formed in the same way, ie, ‘c’ ‘C’ and ‘p’ ‘P’, can further add to the confusion and hinder consistency in the size of writing.
- How can schools improve literacy?
- Why it’s time to rethink Sats
- How to support students with bereavement
But getting the size right is essential for presentation and can help to ensure writing is clear for the child to read back.
By using “sky, grass, mud” lines (three parallel guidelines, running horizontally across the page) early on, children are given a visual element to support correct letter formation, allowing them to see where the ascenders and descenders should go.
This, combined with a handwriting pattern, can be very effective. For example, you can teach a lower-case “d” as “up, over the hill, down round to the line, up to the sky, down to the grass and flick”. Often you only need to use it for a short while.
Give me space
Once a child has mastered pencil grip, letter formation and writing size, they must begin the process of writing words, then sentences that make sense and can be understood by others.
One of the biggest challenges in reading the early writing produced by their students is a lack of space or “finger spaces” between the words.
However, it is a difficult lesson for some students to grasp, particularly if they haven’t fully understood what words are and how they form sentences. Yet, even if they understand this, it doesn’t necessarily mean children will leave a space between words.
Using pre-produced “finger space markers” in books, or simply asking pupils to use their own finger to make a space, can offer support here.
Alternatively, a quick activity to make it fun for young children is writing every word in a different colour so they can see the difference between the words easily.
Formation matters
Children need to begin forming letters correctly early on, as it can be challenging to change the formation later. When writing a letter, it must start and end in the correct place. Learning the correct formation will help children write with speed and accuracy, allowing the writing to flow, particularly when children begin to learn cursive.
The challenge is ensuring that children are forming letters correctly. Without seeing them physically write the letter, it can be hard to be sure they have started and finished the letter correctly, especially with a larger class. Edtech can help with this, and apps like Kaligo are great at tracking exactly how a child has formed the letter.
Sophie Lamb is a Year 3 teacher and digital lead at Kender Primary School in Lewisham, London. She tweets @SophieL49167020
You need a Tes subscription to read this article
Subscribe now to read this article and get other subscriber-only content:
- Unlimited access to all Tes magazine content
- Exclusive subscriber-only stories
- Award-winning email newsletters
Already a subscriber? Log in
You need a subscription to read this article
Subscribe now to read this article and get other subscriber-only content, including:
- Unlimited access to all Tes magazine content
- Exclusive subscriber-only stories
- Award-winning email newsletters
topics in this article


