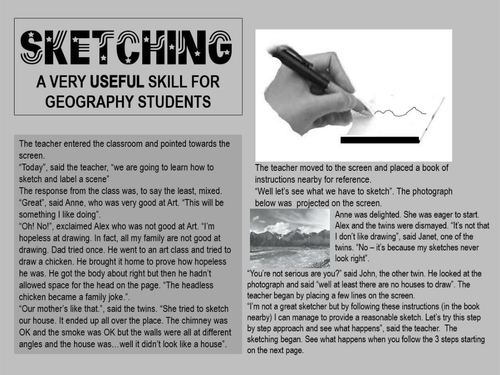

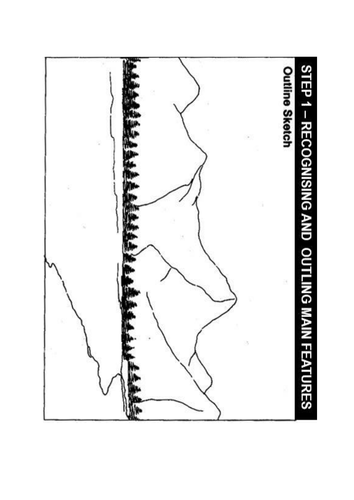
This is another unit in the HOW TO series. It provides a 3-step approach for students to develop an outline sketch from a photograph. Aware that there are some students who enjoy sketching, while others have a reluctance to try, this approach takes you into the classroom with a screen to project material and a step by step manual (imagined) which contains instructions. It's almost a recipe approach for sketching. This method has been tried and tested at junior secondary levels and many of the reluctant sketchers have ended up with results that they did not believe possible. The aim is not so much the quality of the finished product but the process involved in the 3 steps. If your students do not need much visual support pages 2-4 are organised so that you can blot out the right hand side of the screen. Those taking geography students at more senior levels will know that students who can provide annotated sketches/diagrams to support written assignments and answers (exams) are better equipped to study/report on more detailed topics. This simple study is a start. Black and white attachments are given which provide the basic sketch outlines and some additional photos if you want to extend/check the method learned. Some of these are probably too complex at junior secondary level but it doesn't hurt to show students how visual resources they learn here can be useful as they progress in the subject. Try this approach. You could find students actually enjoy what they are doing. This is a stand alone unit with broader possibilities.
Something went wrong, please try again later.
This resource hasn't been reviewed yet
To ensure quality for our reviews, only customers who have downloaded this resource can review it
Report this resourceto let us know if it violates our terms and conditions.
Our customer service team will review your report and will be in touch.
£0.00