
Your resource’s cover and preview images are incredibly important. Alongside the resource title, they are the first things that your customer will see. Here are five tips to help you make the most of this very important part of your resource.
1. What’s the difference between cover and preview images?
The cover image is the image that shows as a card when users are searching for resources. This is often the first visual aspect that a user will see to draw them to your resources. This image should be 800 pixels wide and 600 pixels high. These are the dimensions of a 4:3 PowerPoint slide, and a picture of that slide taken using 'Snipping Tool' on Windows works perfectly as a cover image.
The preview image will only be visible on the resource page and is designed to give the user more insight into what is included within your resource.
The cover image could be likened to the front cover of a book, designed to be attention grabbing with minimal information.
Think about: Will the text be too small to read when it’s the size of a resource cover image?
The preview image could be likened to the back cover of a book, designed to give more information and an insight into what’s inside. The automated preview could be likened to a quick flick-through of the book’s pages enabling a few choice elements of the content to be seen. A custom preview image should therefore give a brief representative preview of what’s inside. Preview images have no size requirements, but you are limited to one image per uploaded file.
Think about: Which one sample page represents what many of the others are like?
2. Use a simple, clear and informative cover image
The cover image needs to make a potential customer want to click on your resource. Once they click through to the page with the full resource description, they can then read further details. Including some descriptive text and your resource title in your cover images, if appropriate, may help to explain your resource in more detail but is not necessary.
Think about: You don’t need more than the title and an image, but sometimes there are other things to mention - e.g. Tes often works with sponsors and partners when developing resources.
3. Create a branded cover image
Make sure to create a visually pleasing cover image that reflects the contents of your resource as well as your overall Tes shop branding. You can also create themes in your resources. Perhaps a set of resources that all cover the same topic could look similar, or you want to use a certain style of image for certain types of resource - for example, one for lesson slides, one for handouts and another for homework resources, to make different categories of resources immediately identifiable.
Think about: Are your resource covers branded and consistent in design? Inconsistency of the formatting can be frustrating - this seemingly minor issue may be enough to make users form opinions about your work.
4. There’s no need to rely on the automatic images generated by the upload process
If you don’t want to spend time creating cover or preview images, you can let the automated process use the first image from your resource. However, it is unlikely that this will be an image that showcases your resource or promotes it effectively to your audience. Text may be cut off and the image might not explain your resources fully. If you upload a zip file the automated process will not be able to show a preview so a custom preview would be necessary.
Think about: Sometimes the automated image isn’t even clear enough to read and may be without context - is it a starter activity? A worksheet? It may well be useful, but you need the customer to be able to tell.
5. Create a preview image in your preferred program
The purpose of the preview image is to showcase the contents of your resource. You can use Microsoft PowerPoint or your preferred program to create a slide or graphic that can be uploaded as the preview image. This way, it will not interfere with your resource but will enable you to make it presentable and stand out. The custom preview can be any size so long as it is a single image file. Remember, you can even create preview videos for this purpose.
Think about: Can you combine multiple images into one? Clearly showing a range of sample of pages as well as an explanation within the image can be useful.
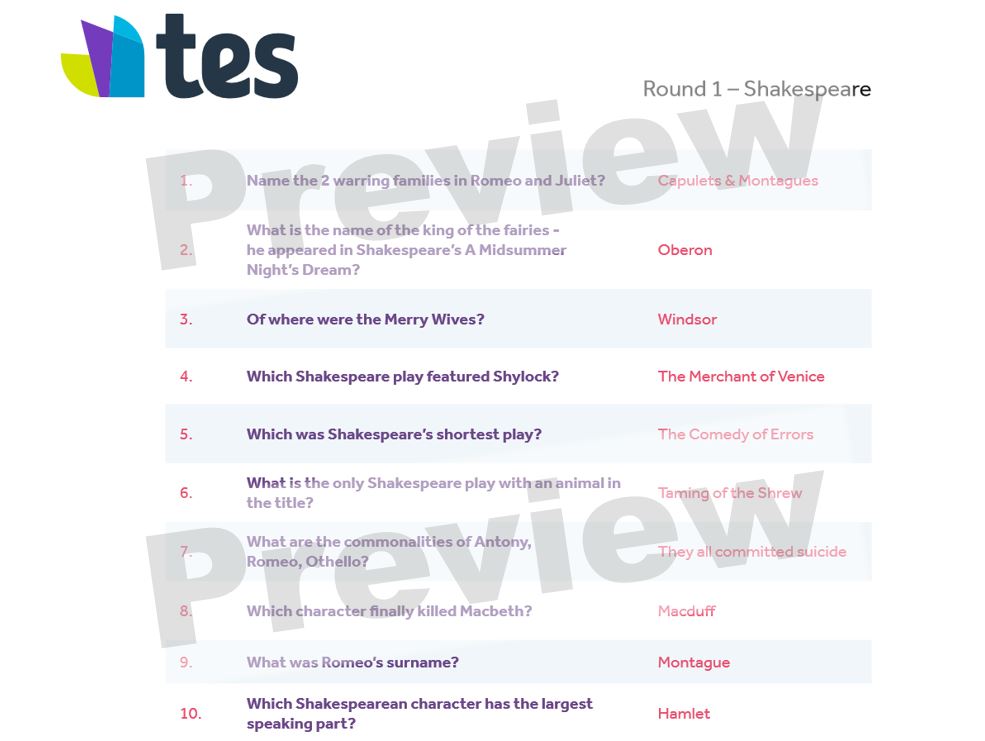
You may wish to add a custom watermark to your preview like in the image above. This is easily achieved in PowerPoint by creating an image/text box and using the transparency slider under the formatting options. It is important to make sure the slide is still legible behind your watermark.
The default previews do not have a watermark as they are static images. You cannot scroll through the automatic previews of files. The image size and clarity will not enable usable copies to be made from the preview images. You will also notice that below each preview image you can see the file type and size. If you are an author and you wish to upload a single page resource, we recommend that you use a custom preview. If you are concerned about how preview images are used, we recommend that you create your own watermarks for preview images that you upload. You can find a suggestion on how to do this here.