


The project concentrates on the design and manufacture of a VEX Clawbot using a prepared kit of robotics parts. The build is clearly led as a team assignment and leads to a specific outcome. Once the build is complete, pupils are challenged to extend the application of the kit and robot to lead to different and ever more complex outcomes. The Clawbot will be redeveloped and rebuilt, programmed and engineered to result in new and engaging solutions. Through the project pupils will be able to develop a confident and detailed level of knowledge of robotics design, and will be able to apply this to VEX challenges.
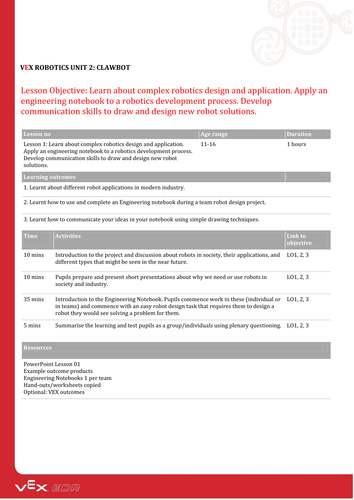
1. * Lesson 01 - Introduction to the project and discussion about robots in society, their applications, and different types that might be seen in the near future. Pupils prepare and present short presentations about why we need or use robots in society and industry.
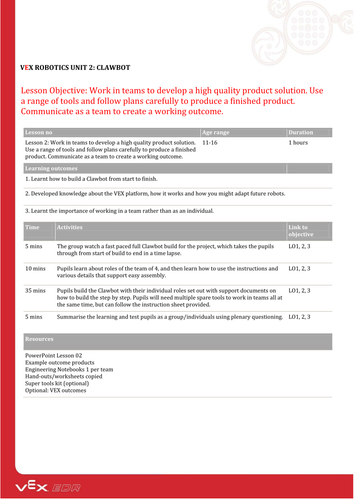
2. * Lesson 02 - Pupils learn about roles of the team of 4. Pupils will then start on the Clawbot with their individual roles set out with support documents on how to build the step by step.
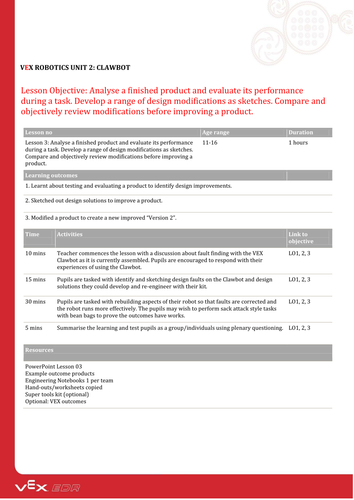
1. * Lesson 03 Teacher commences the lesson with a discussion about fault finding with the VEX Clawbot as it is currently assembled. Pupils are then tasked with identify and sketching design faults on the Clawbot and design solutions they could develop and re-engineer with their kit.
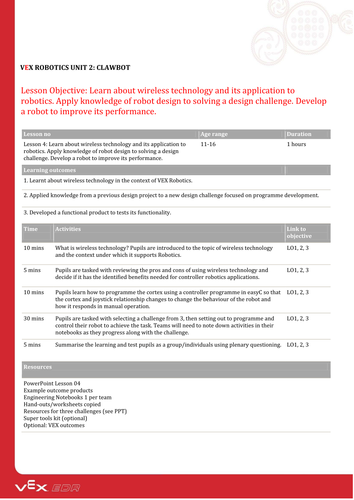
3. * Lesson 04 - Pupils are introduced to the topic of wireless technology and the context under which it supports Robotics. Pupils learn how to programme the cortex using a controller programme in RobotC.
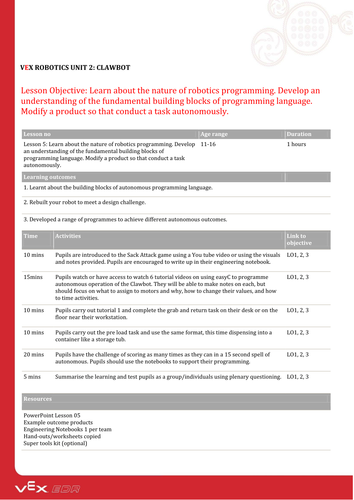
1. * Lesson 05 - Pupils are introduced to the Sack Attack game. Pupils will watch be shown tutorial videos on using RobotC to programme autonomous operation of the Clawbot. They will focus on what to assign to motors and why, how to change their values, and how to time activities. Pupils will then carry out assigned tasks before an autonomous challenge of scoring as many times as they can in a 15 second spell.
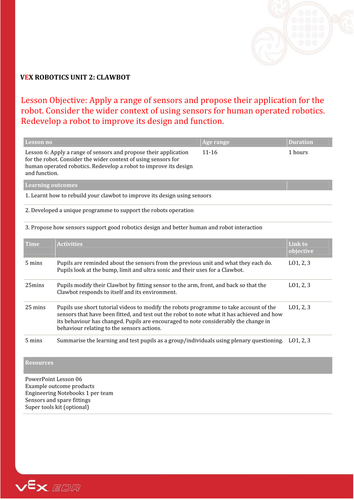
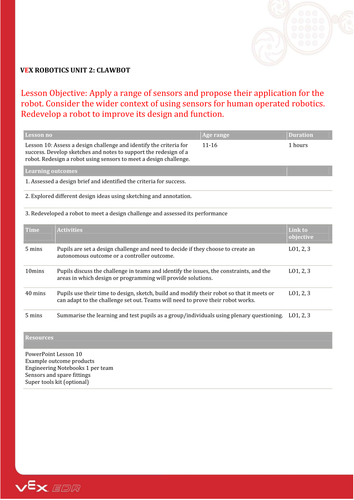
1. * Lesson 06 - Pupils are reminded about the sensors from the previous unit and what they each do. Pupils look at the bump, limit and ultrasonic and their uses for a Clawbot.
And modify their Clawbot by fitting sensor to the arm, front, and back so that the Clawbot responds to itself and its environment.
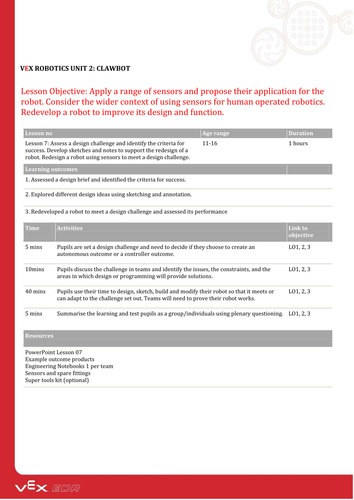
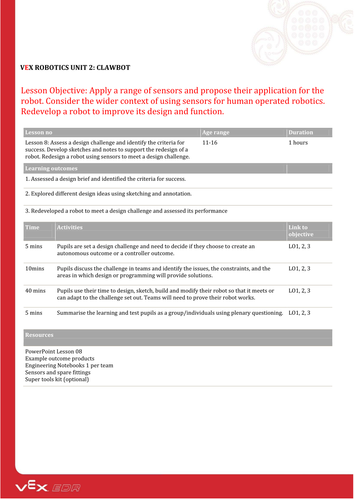
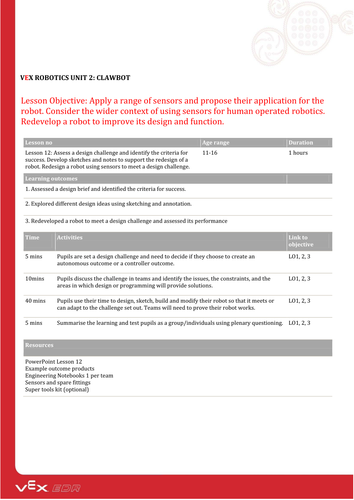
1. * Lesson 07- 12 - Pupils are set a design challenge and need to decide if they choose to create an autonomous outcome or a controller outcome. Pupils use their time to design, sketch, build and modify their robot so that it meets or can adapt to the challenge set out. Teams will need to prove their robot works. Pupils are then tested as a group/individuals using plenary questioning.
1. * Lesson 01 - Introduction to the project and discussion about robots in society, their applications, and different types that might be seen in the near future. Pupils prepare and present short presentations about why we need or use robots in society and industry.
2. * Lesson 02 - Pupils learn about roles of the team of 4. Pupils will then start on the Clawbot with their individual roles set out with support documents on how to build the step by step.
1. * Lesson 03 Teacher commences the lesson with a discussion about fault finding with the VEX Clawbot as it is currently assembled. Pupils are then tasked with identify and sketching design faults on the Clawbot and design solutions they could develop and re-engineer with their kit.
3. * Lesson 04 - Pupils are introduced to the topic of wireless technology and the context under which it supports Robotics. Pupils learn how to programme the cortex using a controller programme in RobotC.
1. * Lesson 05 - Pupils are introduced to the Sack Attack game. Pupils will watch be shown tutorial videos on using RobotC to programme autonomous operation of the Clawbot. They will focus on what to assign to motors and why, how to change their values, and how to time activities. Pupils will then carry out assigned tasks before an autonomous challenge of scoring as many times as they can in a 15 second spell.
1. * Lesson 06 - Pupils are reminded about the sensors from the previous unit and what they each do. Pupils look at the bump, limit and ultrasonic and their uses for a Clawbot.
And modify their Clawbot by fitting sensor to the arm, front, and back so that the Clawbot responds to itself and its environment.
1. * Lesson 07- 12 - Pupils are set a design challenge and need to decide if they choose to create an autonomous outcome or a controller outcome. Pupils use their time to design, sketch, build and modify their robot so that it meets or can adapt to the challenge set out. Teams will need to prove their robot works. Pupils are then tested as a group/individuals using plenary questioning.
Something went wrong, please try again later.
Great resource. Do you have the role sheets for the individual roles?
Report this resourceto let us know if it violates our terms and conditions.
Our customer service team will review your report and will be in touch.
£0.00