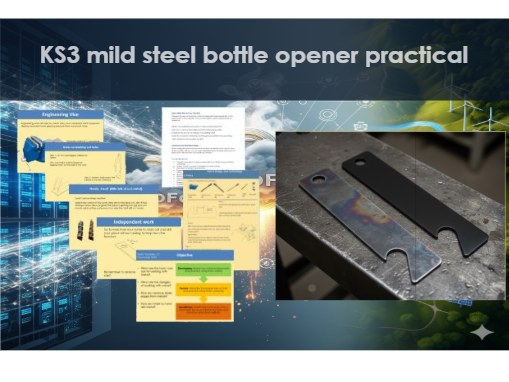


This is a comprehensive and engaging 4-lesson D&T metalwork project for Key Stage 3 students. Your class will design and make a functional mild steel bottle opener using traditional workshop techniques. The resource includes two differentiated approaches for the marking and cutting stage, catering to a range of abilities.
What is included in this resource?
This resource provides a complete, editable 4-lesson unit of work as PowerPoint presentations that guides students through the entire “mini-make” project. Each lesson is clearly structured with learning objectives and detailed instructions, making it ideal for both specialist and non-specialist teachers. The resources are in dyslexia-friendly fonts with simple instructions to reduce cognitive load and clear diagrams using dual coding to improve comprehension.
Lesson 1: Introduction to Tools & Techniques
- Introduces essential metalworking tools, including the steel rule, scriber, centre punch, files (bastard, second-cut, smoothing), hacksaw, and engineering vice.
- Covers key skills like accurate measuring in millimeters and explains why this is important for accuracy in D&T.
- Details how to safely clamp metal, mark out, and drill holes.
Lesson 2: Independent Application & Safety
- A revision lesson where students independently identify tools and apply knowledge from the previous lesson.
- Includes crucial information on first aid and the importance of telling a teacher about any cuts to prevent infection.
- Students practice marking their initials onto the mild steel bar using letter punches.
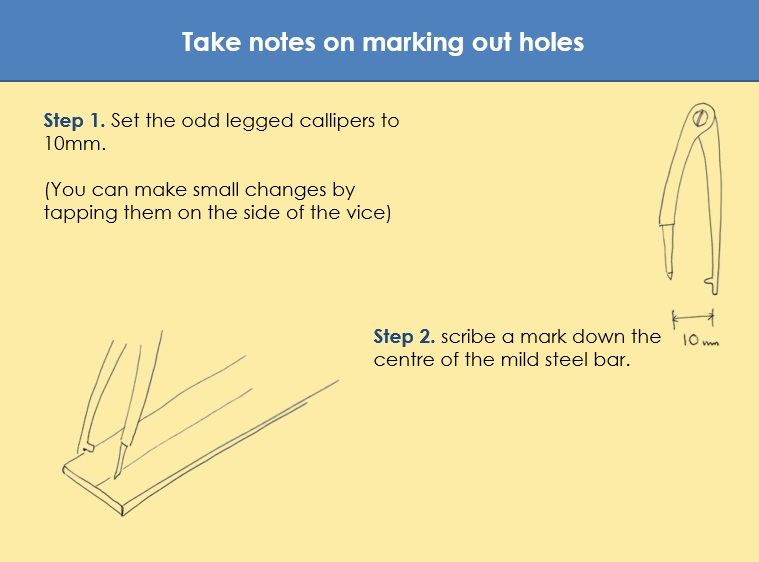
Lesson 3: Marking Out & Cutting (Two Methods)
- Method 1: Measuring Method: Students learn to mark out the bottle opener shape by measuring with a steel rule and using a scriber.
- Method 2: Template Method: For differentiation, this alternative method teaches students to apply a provided template to the metal, a simpler approach for accurate marking.
- Both methods lead to the final step of cutting the opener using a hacksaw while the metal is clamped in a vice.
Lesson 4: Filing & Finishing
Reviews all the tools used in the project.
- Focuses on finishing the product by filing to remove sharp corners and create a smooth, safe surface.
- Introduces the advanced topic of hardening steel using a carbourising flame and quenching it in water.
- Concludes with a step-by-step guide to applying a traditional blacksmith’s wax finish to protect the steel from rust and give it a professional, durable appearance.
- This resource is an excellent way to teach core D&T skills and concepts in a practical, hands-on project that students will find rewarding and engaging.
Something went wrong, please try again later.
This resource hasn't been reviewed yet
To ensure quality for our reviews, only customers who have purchased this resource can review it
Report this resourceto let us know if it violates our terms and conditions.
Our customer service team will review your report and will be in touch.
£5.00