The resource uploader is a tool which enables you to upload your teaching materials to Tes to share with the wider teaching community.
If you’re uploading for the first time and you're questioning 'how do I upload my resources to Tes?', you may find some parts of the upload process confusing. The guide in our author onboarding section may help to introduce you to the resource uploader here. This blog aims to give more advanced guidance on how to make the most out of the resource uploader, and therefore does not provide information on the essential steps.
Click here to go straight to the uploader.
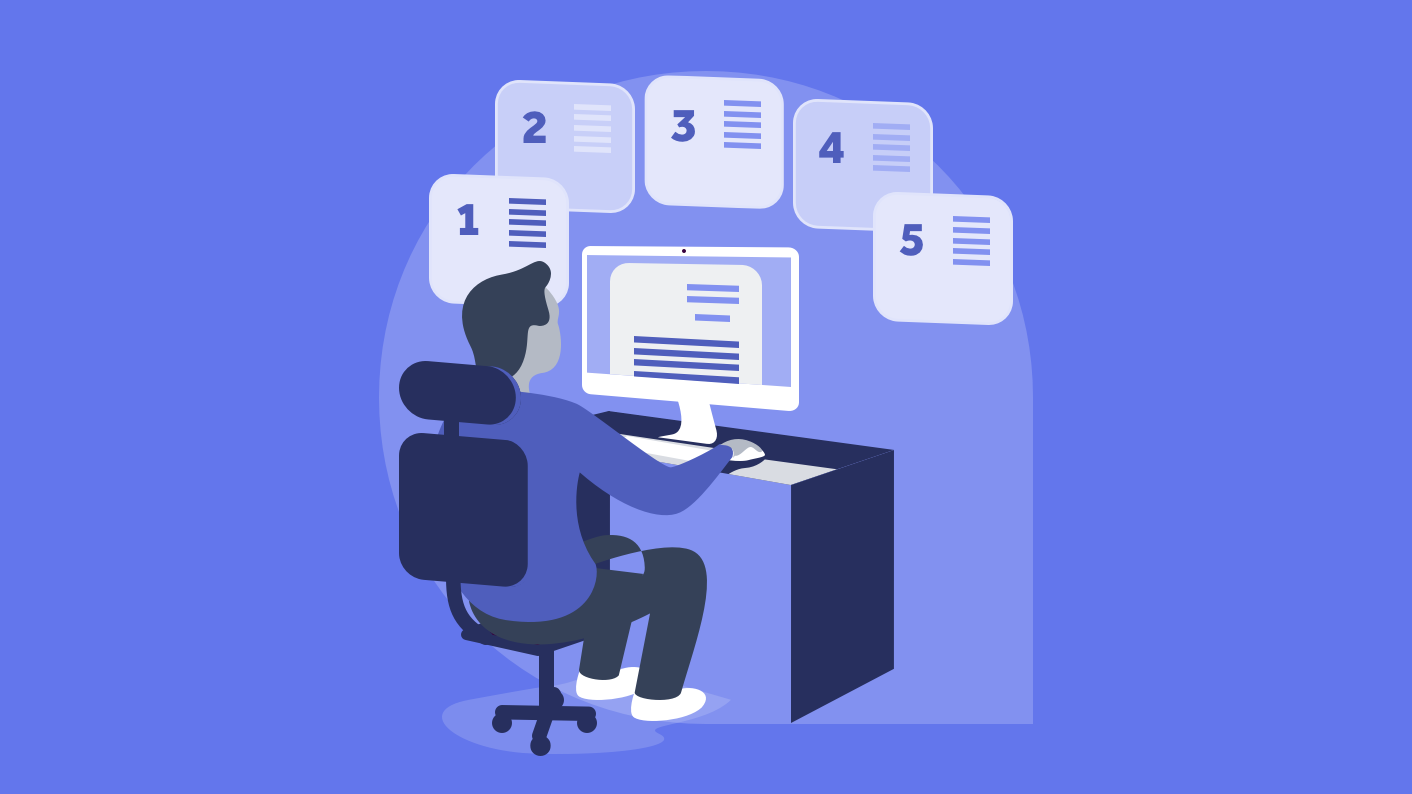
The uploader is split into 5 sections:
Section 1: Title & Description
Advanced information:
SEO (Search Engine Optimisation) tips:
Try to keep titles as short as you can to make them SEO friendly, really try to envisage the terms that teachers would type in the search bar when looking for your resource!
Try to include your keyword at the beginning of your resource title.
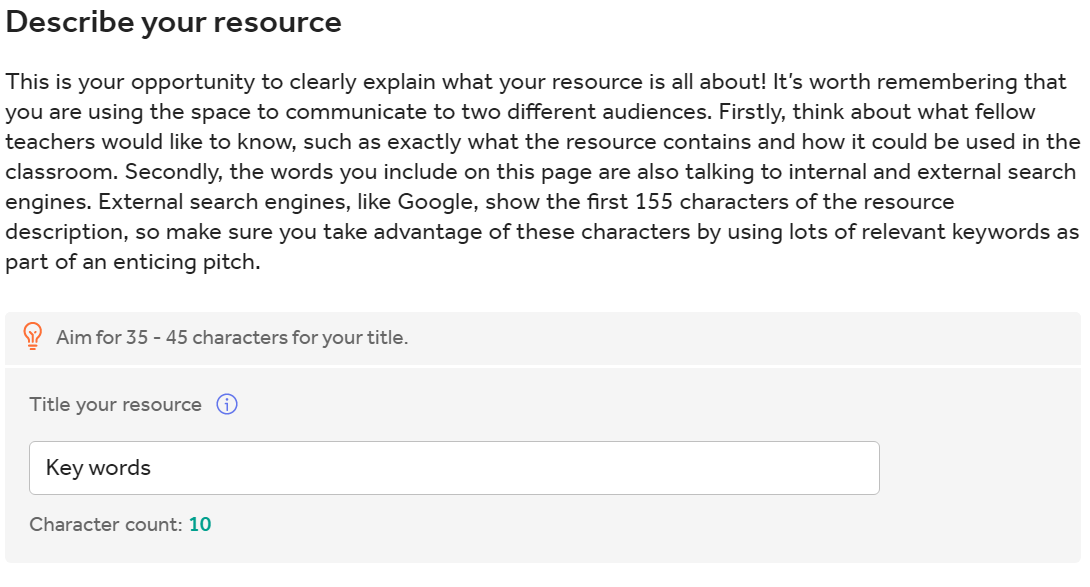
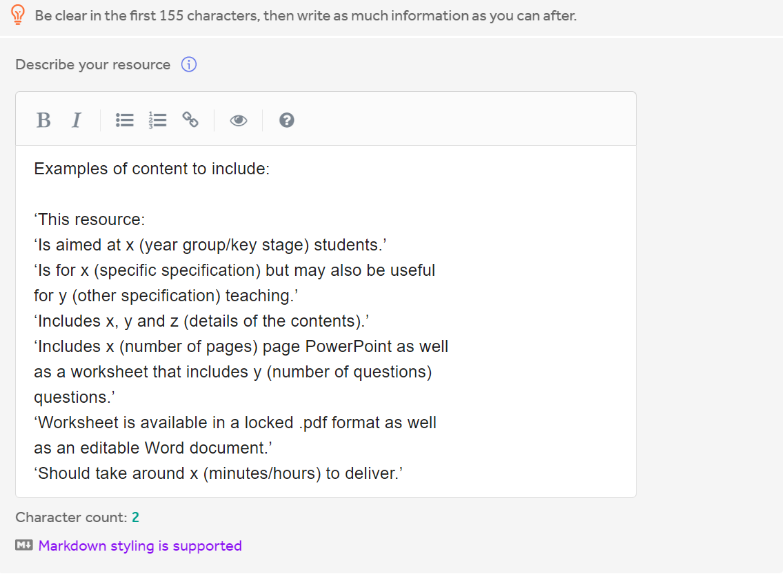
Concentrate on the first couple of sentences for your description, as this is what will appear in Google’s search results underneath the link to your resource page, so try to make it attention grabbing.
Try to make the description as long as you can (at least 400 words) - the more information the better.
Ensure to include your keywords again in your description.
To read more in depth guidance on titling and describing your resources to make them SEO friendly, read our blog post.
Section 2: Uploading your files

Advanced information:
SEO tip: Optimise your file names. Google will pick up on any keywords you have added into your uploaded file titles.
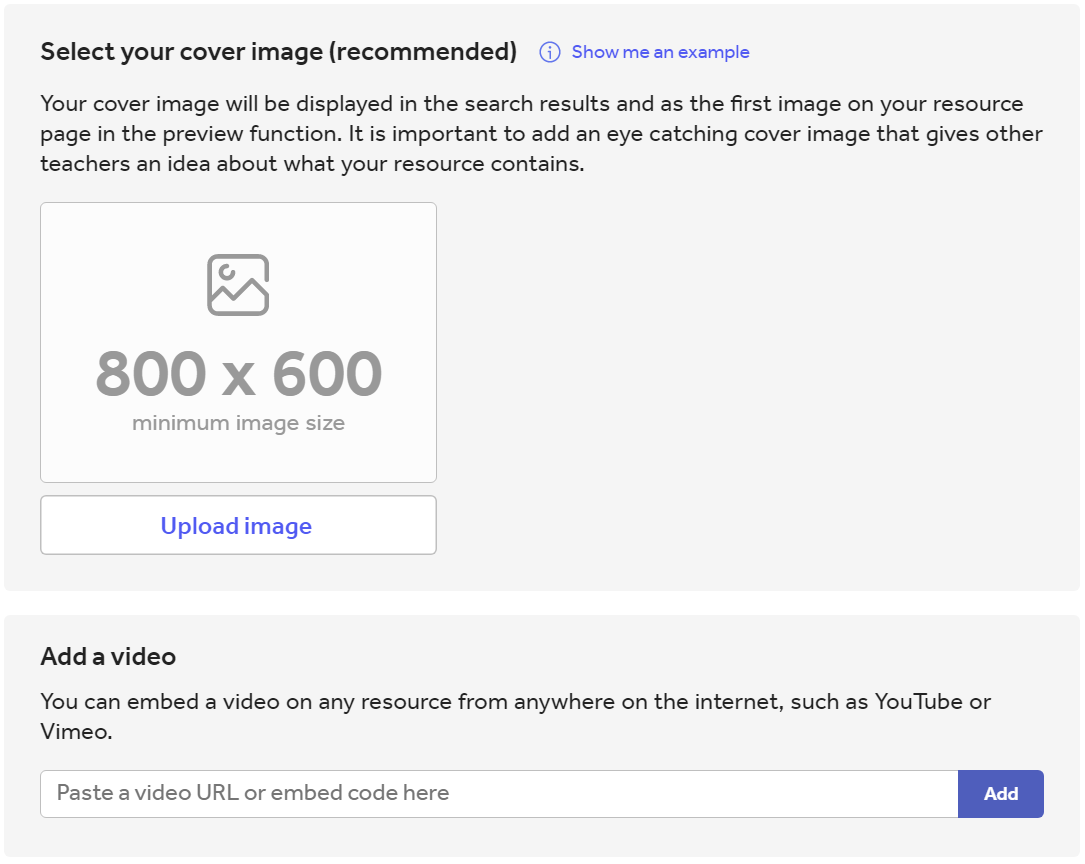
We suggest that you create your own preview for your resources and upload it by selecting ‘add custom image’ from the dropdown, or you can leave your resources with a ‘default preview’, which means the uploader will select parts of your resource to show as the preview. The aim of the preview is to provide a brief overview of what your resource includes - this has been found to be a significant factor in whether a user chooses to download or purchase it. If you are concerned about giving too much away for free, create a custom watermark to overlay your image. Information on doing this is available on the blog linked below.
The cover image is what will be displayed in the search results and it’s the first visual representation users will see of your resource, so it’s a good idea to really concentrate on this and use it to entice users into clicking on it.
You can read more about creating good quality previews and cover images here.
If you would like to add a video from an external hosting platform such as YouTube or Vimeo to your resource you can do this by pasting the URL or embed code in the box provided. Videos are presented on the resource display page in the position of the first preview images.
When uploading your resources to Tes, bear in mind that some file types may not be compatible with varied devices. To help support teachers, you may wish to upload your resources in multiple file types to ensure the end user can easily download and access it. We advise that a sensible approach is taken in keeping the size of files as low as possible as buyers will be put off buying multiple resources of such a large size due to download speeds and storage space.
Section 3: Categories
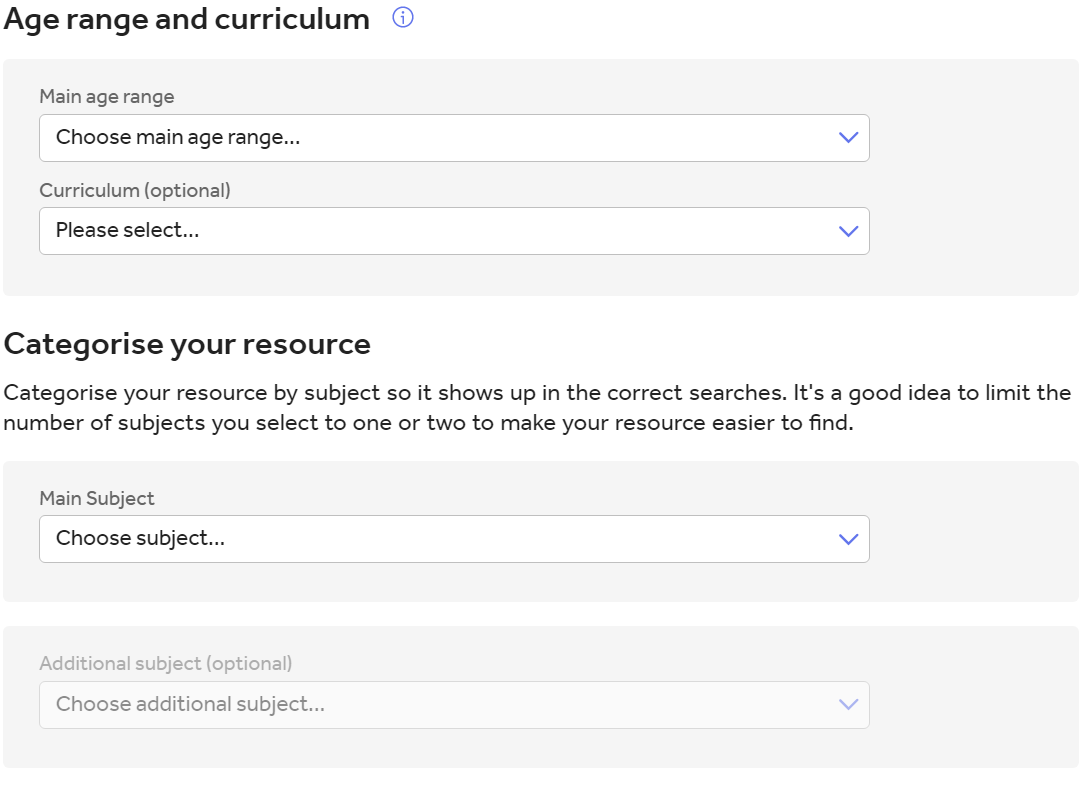
Advanced information:
You will have the option to choose an additional neighbouring age range if your resource is aimed at more than one age group.
You’ll also have the option to add tags specifying any topics included, as well as the curriculums or exam body the resource is designed for. If your resource is designed for multiple curriculums, leave this section blank or you will restrict the audience that finds your resource. It is only worth adding topic and curriculum tags that the resource was originally created for, not all the possible ways in which it could be used. If you think that the resource could be used for other subjects, topics or specifications, it is more useful to mention this in your resource description.
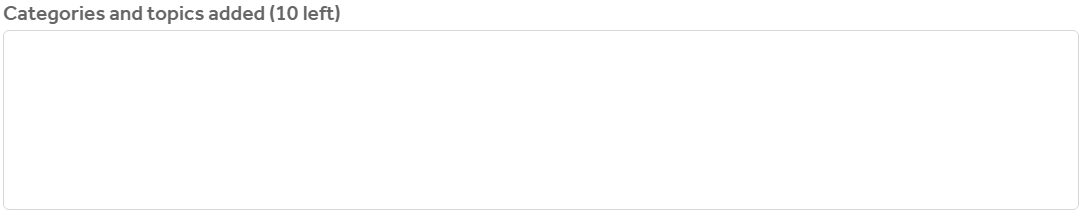
All the subject and topic categories that you have selected will show up in the final box on this page. You can easily remove unwanted tags by using the X icon. Try to avoid over-tagging your resources, too many specific tags means that only people looking for those particular terms are likely to uncover the resource as a result. If multiple specific tags apply to your resource, try to just use a broader tag to label it.
Section 4: Licence
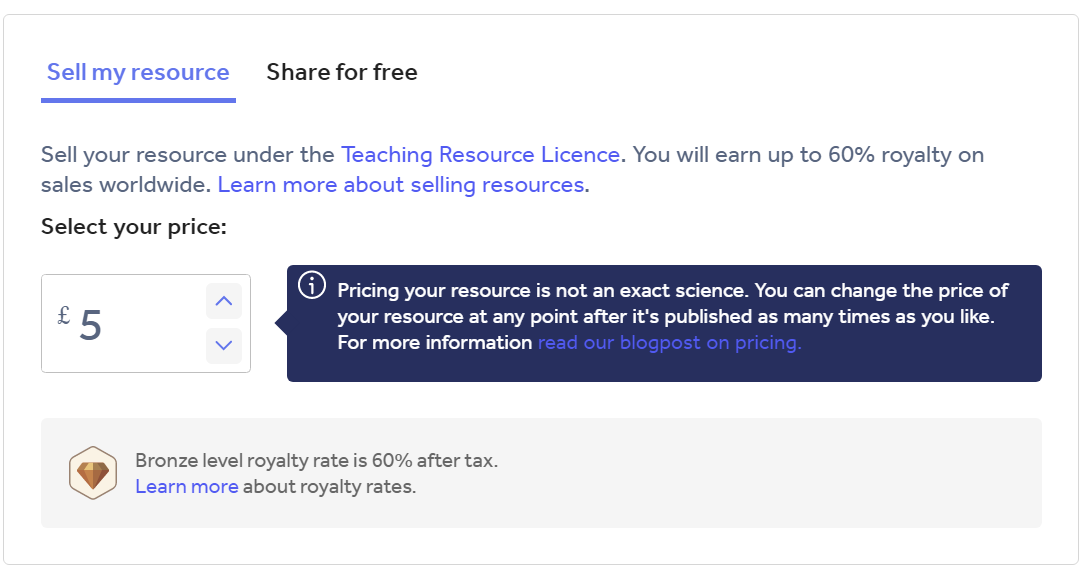
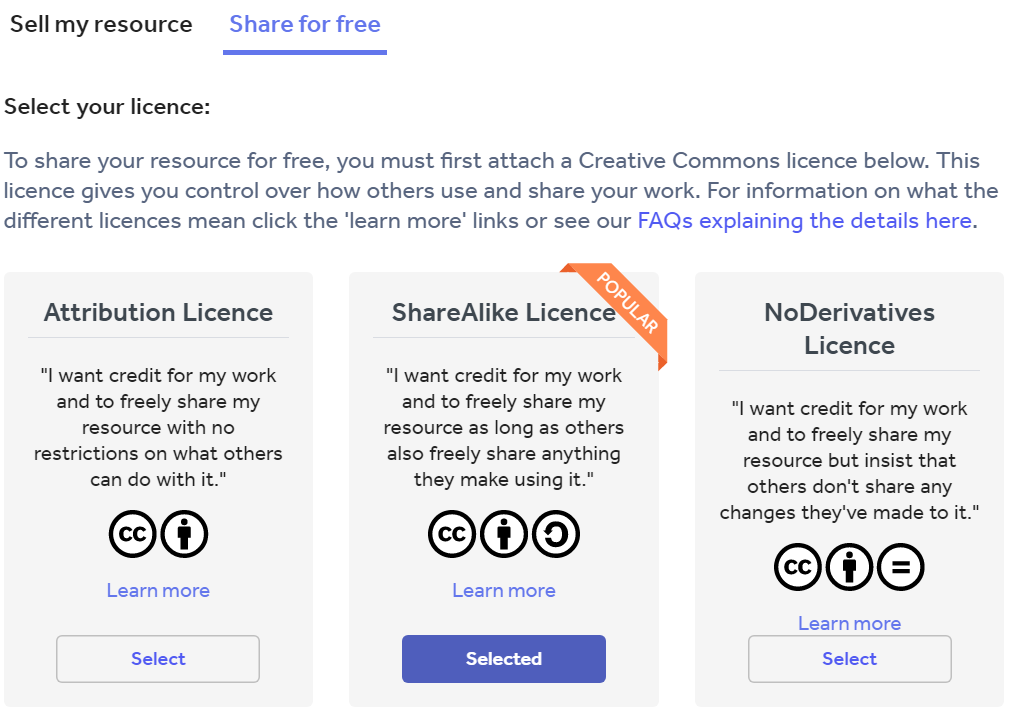
Advanced information:
If you decide to share your resource for free, it must remain free. You cannot subsequently change your resource from free to paid. If you decide to sell your resource, you can amend the price of it once it has been published but not change it to become free. For more information and guidance on this, read our blog post on pricing.
When you share your resource for free, there is a choice of 3 different Creative Commons licences. The different options specify how downloaders are permitted to use or share your resource with others.
When you sell your resource, it will be sold under the Teaching Resource Licence.
All the licence options protect the copyright of your resource.
More in depth guidance on these licenses can be found in our Copyright and Resource Licences FAQs.
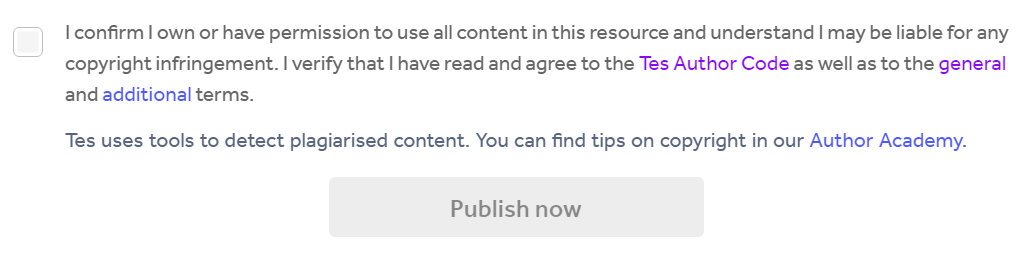
Section 5: Publish
Advanced information:
We suggest that new authors make themselves aware of copyright restrictions on what they are allowed to share in a resource. It is important to be aware that what you are allowed to use in the classroom is not the same as what you are allowed to publish online. To read up on copyright, you can view our copyright section of the Author Academy.
In this section you’ll also be shown a preview of what your resource will look like once published. This gives you the chance to go back and make alterations if you don’t like the way the resource looks before you publish it. But don’t worry, you can always edit it later. The only feature that cannot be changed later is the licence under which it is shared.
This might seem like a lot of information, but the uploader simply and efficiently takes you through each step with guidance along the way. You can go straight to the uploader here.