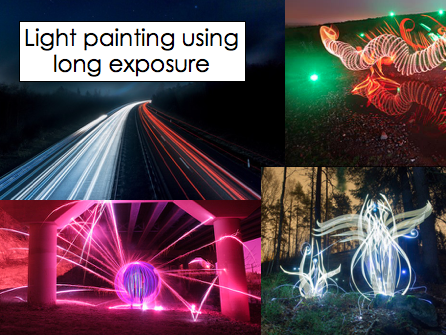
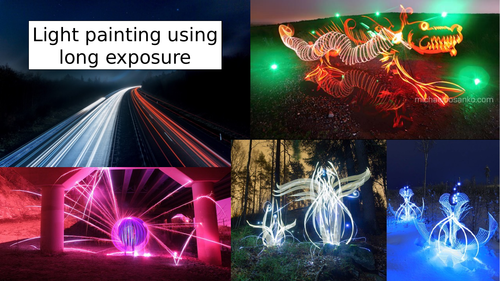
I tested this out with my year 11 and 12 and it was very successful. It’s a fun way to get students engaged in using long exposure with a dslr camera and get use to using the camera manually. I have put sample works of Michael Bosanko, Eric Staller, Hannu Huhtamo and Dana Maltby for inspiration. Students can begin with investigating couple of the artists for their sketchbooks then use their findings to create their own light painting. The PowerPoint teaches students how to edit their photos step-by-step. In order to achieve the best light painting you will need to slow down the shutter speed, narrow the aperture with a low ISO as you can imagine when the shutter is open for a long period of time, a lot of light will be going in. There is no specific settings to use on the camera and therefore students should experiment with exposure triangle (ISO, aperture and shutter speed) until it is the correct settings (worksheet added to record the settings). Please bear in mind the lens focus must be on ‘manual focus’ (MF) rather than ‘auto focus’ (AF) because when it’s dark, it will struggle to auto focus.
You will need the following: -
*DSLR camera (manual focus)
*Tripod
*lights (phone torch are fine)
*Photoshop
Hope this helps everyone and have fun!
Something went wrong, please try again later.
This resource hasn't been reviewed yet
To ensure quality for our reviews, only customers who have purchased this resource can review it
Report this resourceto let us know if it violates our terms and conditions.
Our customer service team will review your report and will be in touch.
£1.50